There’s more than a few options when selling your ebook, artwork, WordPress plugin or other digital product, but since Easy Digital Downloads has been recommended a bunch of times, I decided to set this up for the pro version of my Event Calendar Newsletter plugin.
While these instructions are specifically for a WordPress plugin, you can ignore some of the steps and upload your digital product(s) to start selling without worrying about things like license keys.
Here’s the steps I did to get from nothing to selling!
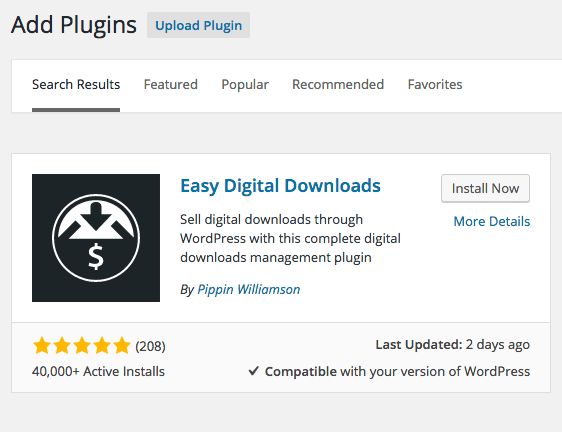
Install Easy Digital Downloads
Add this plugin easily by going to Plugins then Add New and searching for Easy Digital Downloads.
Add Your Plugin as a Download
Once installed and activated, go to Downloads then Add New. Enter the title of your plugin then scroll down to the Download Prices section.
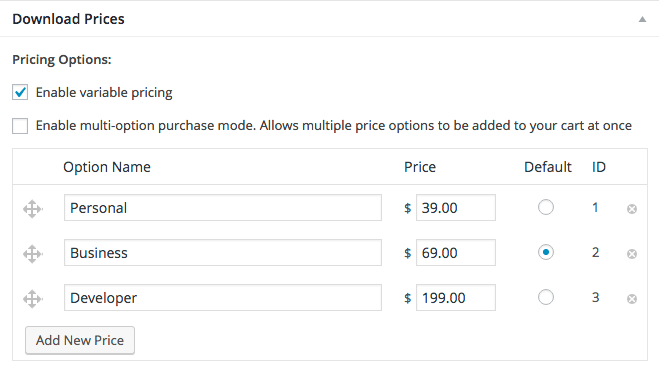
In my case, I’m adding three different options for the purchase based on the number of sites you’d like a license for – 1, 3 or 25.
Scroll down a bit more and you’ll see the option to upload the file that customers would download once they’ve completed the purchase.
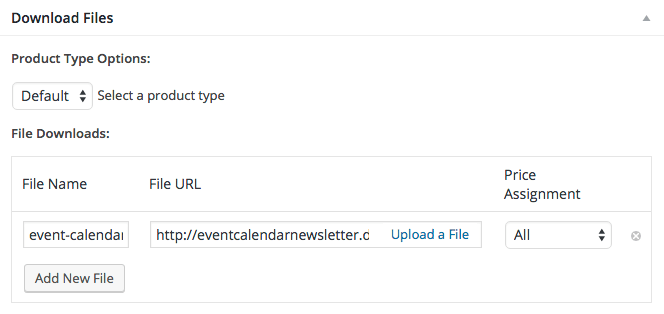
Here you can specify the downloaded filename, upload the file, and select which price assignment (in my case Personal, Business and Developer) that file applies to. In my case because it’s the same plugin for all of them, I just select All for the price assignment.
You can also specify any download notes users should see but I’ll leave this blank for now.
Hit Publish and the product download is now created, but we’ll need to specify other important stuff like the payment gateway customers will use to pay you. And taxes so the government doesn’t get angry at us.
Specify Payment Gateway Options
I’ll initially use PayPal though Stripe and other methods are available using extensions. You’d need an SSL certificate set up on your site to use most of them, though.
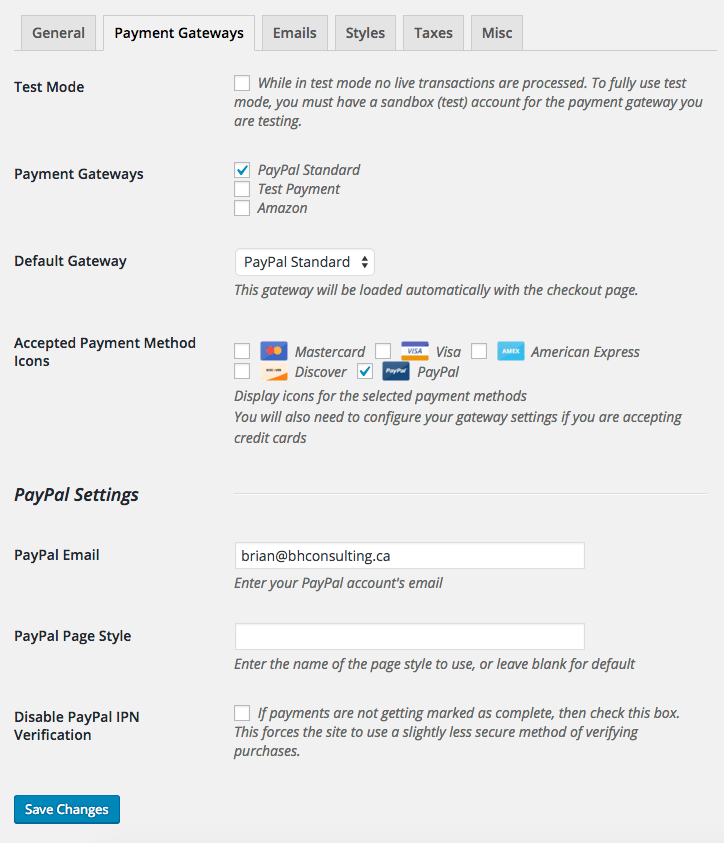
Head over to Downloads then Settings. On the General tab specify where your store is located, and what currency you’ll charge in.
Then hop over to the Payment Gateways tab where you can specify PayPal as the payment option along with your email address:
Specify Tax Options
The government wants their cut, so you’ll want to make sure the tax settings are correct based on where you’re selling from and who you’re selling to.
I have it set up for sales from Ontario, Canada where I only charge taxes to other provinces, but not to other countries. Again, I’m not an accountant, so be sure to check with one so you don’t end up on the hook for a tax bill at the end of the year!
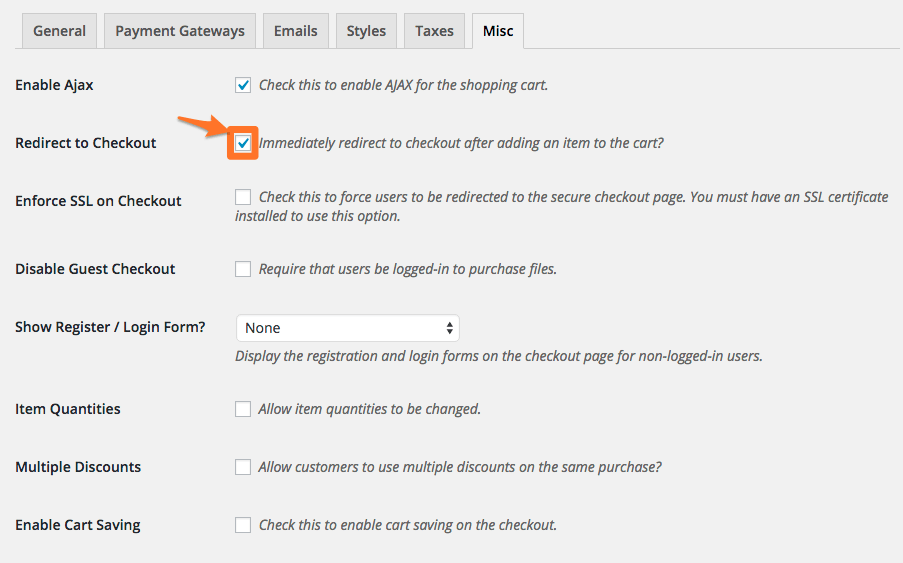
Specify Miscellaneous Options
I left these the same except for specifying to redirect to checkout immediately when adding to cart. This way they don’t need to separately click to the Checkout page in order to pay.
You can also add certain Terms and Conditions they need to agree to. I’ve added some text from a recent article on distributing premium plugins that basically says if they distribute my plugin (which they can legally do under the terms of GPL), I can revoke their access to support and updates.
Adding the Add to Cart Button
While you could use the download page created when you added the download, typically you want to create a separate marketing page and have the Add to Cart button within it.
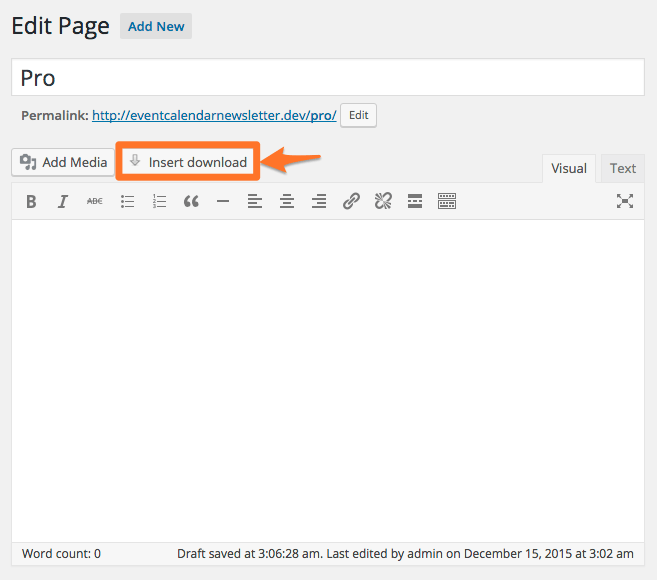
To do this I’ll add a new page called “Pro” to give details on the pro version. Near the top there’s a button to Insert Download:
In the popup I can specify the options like the type of link to download along with the button colour. I’ll add it in as a button tag rather than an anchor link and make it orange:
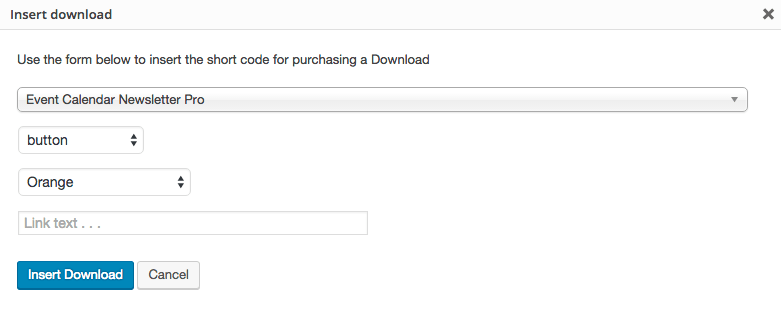
Once I click Insert Download the shortcode will be added to my page:
[purchase_link id="8" style="button" color="orange" text="Purchase"]
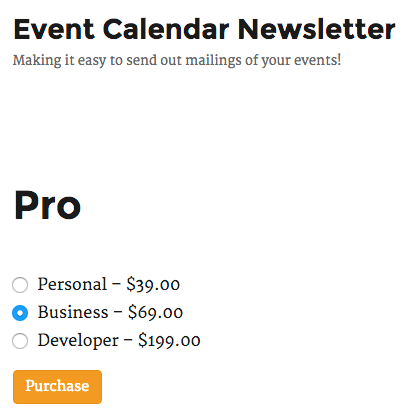
I can add additional text about how cool my plugin is above and below the purchase button. It’ll show up like this on the page:
Switch to a Prettier Pricing Table
While this radio button method works, I’ve like to make it look a lot better and highlight the features using a nice looking pricing table.
Instead of using a form to select the option between Personal, Business and Developer, you can use a link in this format:
/checkout/?edd_action=add_to_cart&download_id=8&edd_options[price_id]=2
Replacing “8” (the download_id) with the ID of your download post, which you can find by looking at the shortcode you just inserted into the page:
[purchase_link id="8" style="button" color="orange" text="Purchase"]
Here id=”8″ gives us the id of 8 to use in our link. The last part of the link is the “2” which is the price option. If you only have one, this would be 1 (Personal in my case), 2nd would be 2 (Business option) and 3 would be the Developer option.
Now that we know how to build the links, I added the Responsive Pricing Table plugin to add a nicely formatted pricing table to the page:
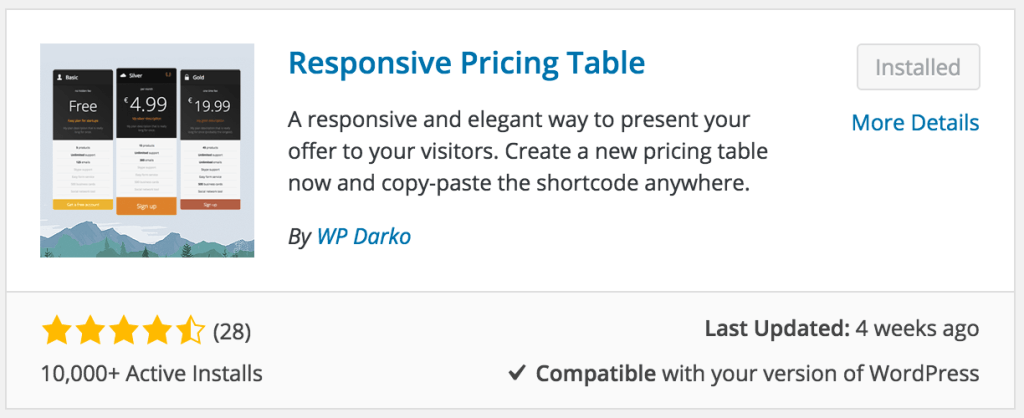
You could also use something like the Beaver Builder plugin which comes with a nicely formatted pricing table module.
Once installed and activated, go to Pricing Tables then Add New. Enter the option(s) you have for your plugin, along with the different features. Usually best to keep the number of features in the table to a minimum so people don’t get confused reading them all, and have only 1-2 key differentiators between the plans (ie. Number of sites you can activate the plugin on).
For the button link values, use the checkout links we created above, one for each price option you have:

After saving the pricing table, click Pricing Tables then All Pricing Tables and copy the shortcode for the table you just created:
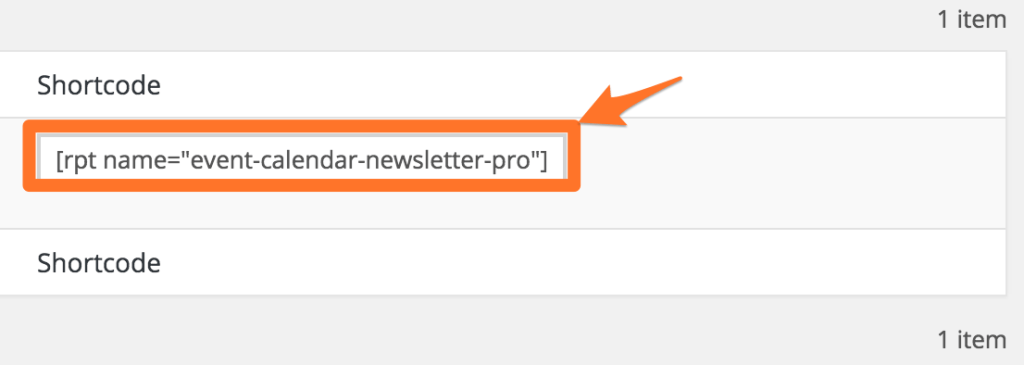
And finally go back to your “Pro” page, delete the shortcode you inserted before via the Insert Download button (the [purchase_link … ] one), and paste the pricing table shortcode you copied. Save and you’ll see something a lot prettier like this:
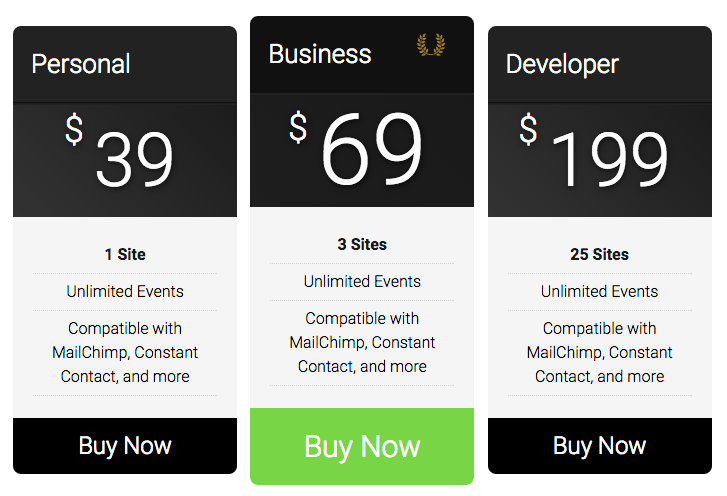
I marked that second one as “Recommended” by checking the appropriate box to highlight that option a bit more, and changed the plan colour to black for the first and last from the green to further highlight the middle-of-the-road Business option.
Add a “Your Account” Page
Create a new page called “Your Account” and add the following:
[purchase_history]

[edd_profile_editor]
This will add in the purchase history along with a way to edit their profile information. If they’re not logged in, they’ll see a login form.
Add this page to your site somewhere like your site’s menu (Appearance then Menus).
Set up a Transactional Email Sending Service
Customers will get upset if they don’t get their receipt or license keys by email, and relying on how emails are sent by most hosting providers is a bad idea.
If you’re on a shared hosting service (which most under $100/month are), setting up something like Mandrill to send your transactional emails out is a must.
Ensure Your Downloads are Protected
You’ll likely get a warning if your hosting provider is running NGINX, which will not protect the downloads. WPEngine is one of those providers, but fortunately you can set up a redirect within WPEngine to protect the files easily.
Configuring License Keys for your Plugin
From the above, we’re already ready to take customer monays via Paypal but if you’re selling a premium WordPress plugin, you’ll want to have license keys generated so only licensed plugin users receive ongoing updates.
Fortunately this is easy using the Software Licensing extension to Easy Digital Downloads. They’ll provide a sample plugin when you purchase so you can see how to integrate the license key system with your own.
Periodically Check if License Key Is Still Valid
While the sample plugin with the Software Licensing extension is great to get the basic functionality in place, it will never expire the license. You can ping to see if the license key is still valid periodically with a hook similar to this one:
function ecn_pro_check_license() {
    if ( get_transient( 'ecn_pro_license_checking' ) )
        return;

    $license = trim( get_option( 'ecn_pro_license_key' ) );

    $api_params = array(
        'edd_action' => 'check_license',
        'license' => $license,
        'item_name' => urlencode( EDD_ECN_ITEM_NAME ),
        'url'       => home_url()
    );

    // Call the custom API.
    $response = wp_remote_post(
        EDD_ECN_STORE_URL,
        array(
            'timeout' => 15,
            'sslverify' => false,
            'body' => $api_params
        )
    );

    if ( is_wp_error( $response ) )
        return false;

    $license_data = json_decode(
        wp_remote_retrieve_body( $response )
    );

    if ( $license_data->license != 'valid' ) {
        delete_option( 'ecn_pro_license_status' );
    }

    // Set to check again in 12 hours
    set_transient(
        'ecn_pro_license_checking',
        $license_data,
        ( 60 * 60 * 12 )
    );
}
add_action( 'admin_init', 'ecn_pro_check_license' );
Where ecn_pro_license_key is where you’re storing the license key and ecn_pro_license_status is where you’re storing the current license status.
Other Useful Easy Digital Download Extensions
Stripe Gateway
Let’s you accept payments through Stripe instead of redirecting off to another page.
Sales Recovery
Sends a reminder email if someone abandons your website before completing their purchase.
MailChimp
Automatically adds new customers to your MailChimp mailing list.
Conclusion
Now that you have a product ready to sell, and a site configured to sell it, start marketing!