Update: As of April 27 2016, you need a paid monthly MailChimp account to use Mandrill. You can try SendGrid instead if your volume is low, which has a Free plan for up to 12k emails per month.
If your WordPress site sends any emails, especially if you have ecommerce set up on your site, you want to ensure those emails get sent properly.
Most hosting providers will just try to send the email themselves, and if you’re on a shared hosting plan (which is probably the case if you’re paying less than $100/month) and anyone on that shared hosting gets blacklisted, your emails will no longer be received.
A simple way to fix is to use Mandrill, a service by MailChimp, to send the transactional emails your WordPress site is sending. And it’s free to get started.
Install wpMandrill WordPress Plugin
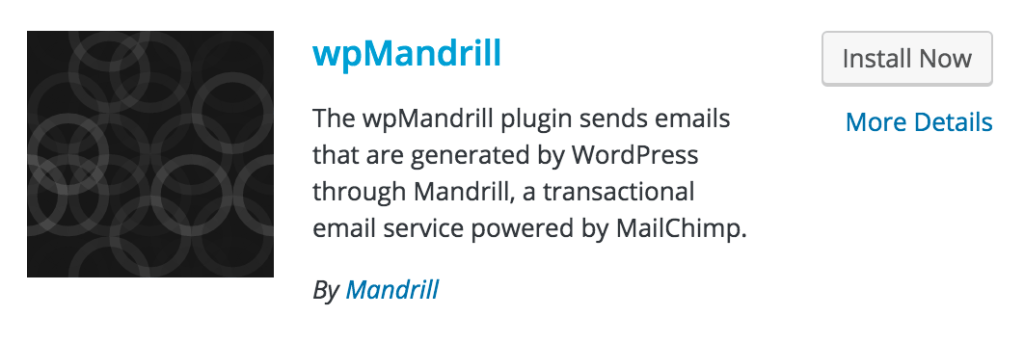
Navigate to Plugins then Add New and search for wpMandrill. Install and activate the plugin.
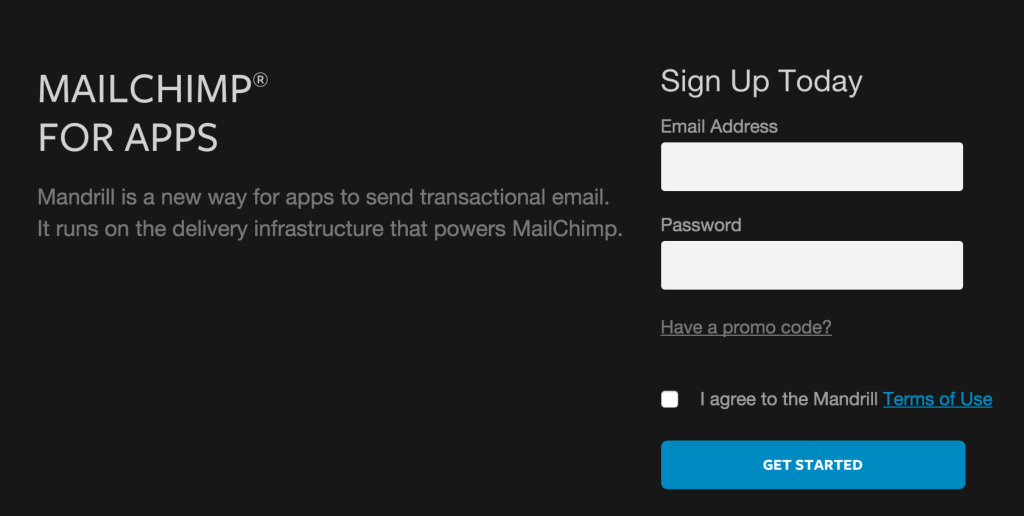
Create a Mandrill Account
Head over to the Mandrill signup page and create an account.
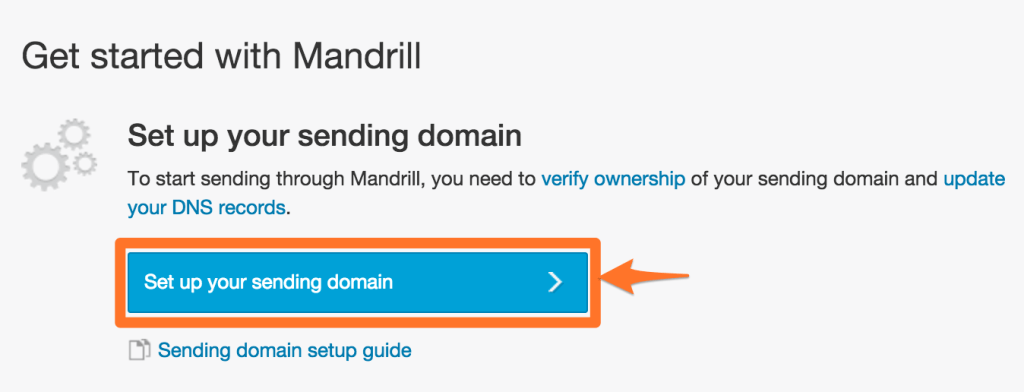
Verify Your Domain
You’ll need to verify your domain in order to send emails for your website using Mandrill. On the first screen you’ll see a button to set up your domain for sending:
Then, enter your website domain (mine would be brianhogg.com) and you’ll see a screen to verify the settings for your domain are correct:

Click each link under Verified Domain, DKIM Settings and SPF Settings for instructions on how to set up the appropriate verifications. You’ll need to login to where you registered your domain name for the DKIM and SPF settings. In my case, I actually had to contact support for my domain name registrar as their interface would not let me add the DKIM correctly.
Once everything is setup just click Test DNS Settings and if everything checks out, your domain is added!
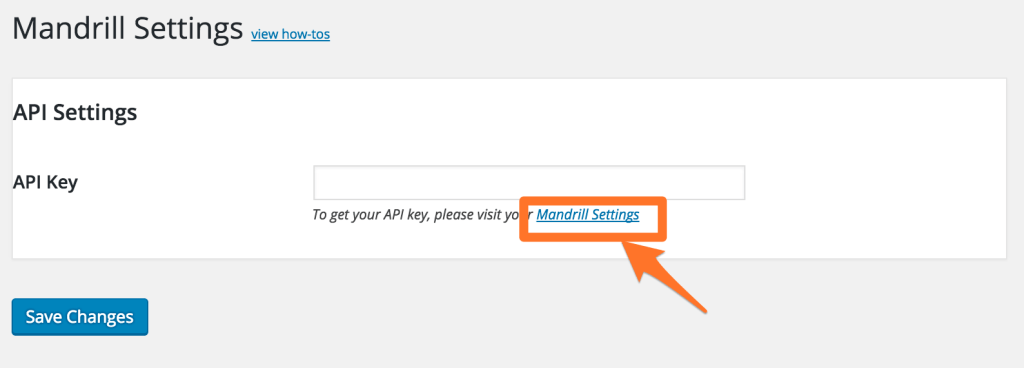
Add Your API Key to the wpMandrill Plugin
Go back to your website then go to Settings then Mandrill. You’ll see a screen to enter your API key. Just click on the link to go directly to your Mandrill account settings:
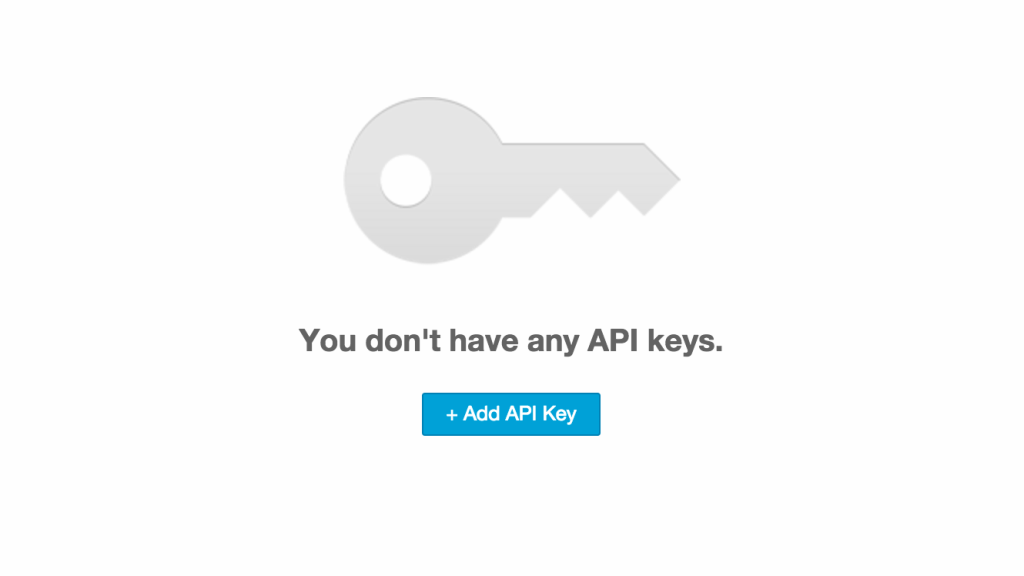
Where you can create an API key by clicking the Add API Key button:
Copy the API key in the Settings > Mandrill page, and Save.
Final Settings
Once your API key is saved, you’ll need to set a few other settings, such as the “from” email address people will see when they get emails from your site.
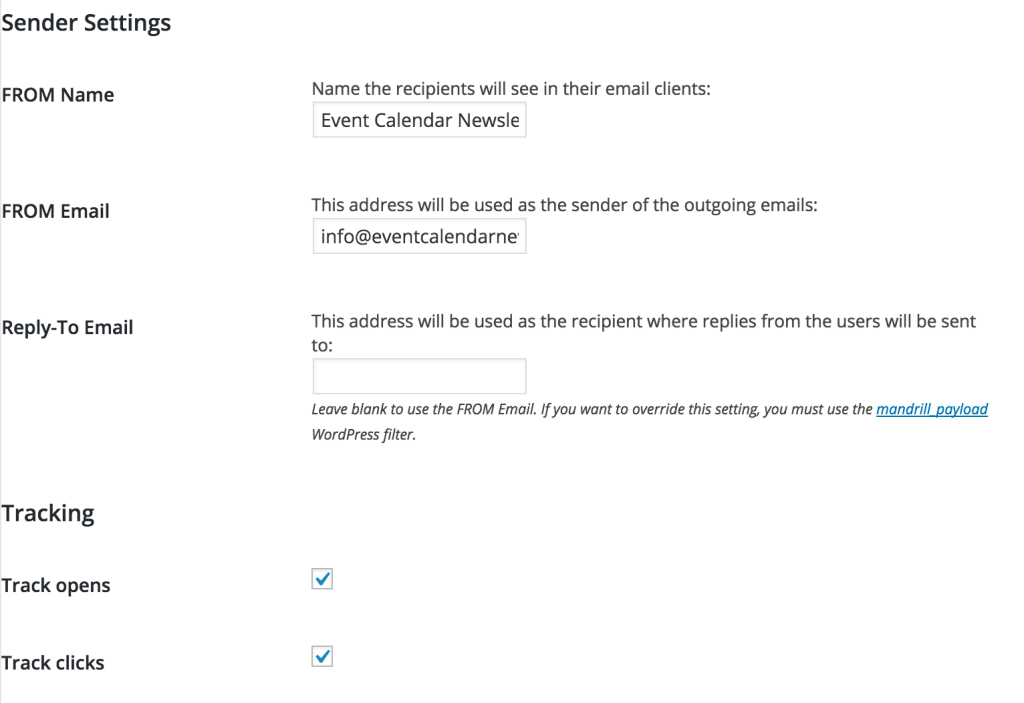
Enter these in and hit Save Settings, and you’re all set!
Be sure to use the Send Test to send yourself a quick email to make sure all is well.